
If you’re trying to eat low-carb, gluten-free, or simply add more vegetables to your diet without sacrificing flavor, you’re going to love this Cauliflower Crust Grilled Cheese Recipe. It takes the classic comfort food—grilled cheese—and gives it a healthy makeover using cauliflower as a substitute for traditional bread. The result? A cheesy, crispy, golden-brown sandwich that’s both indulgent and guilt-free.
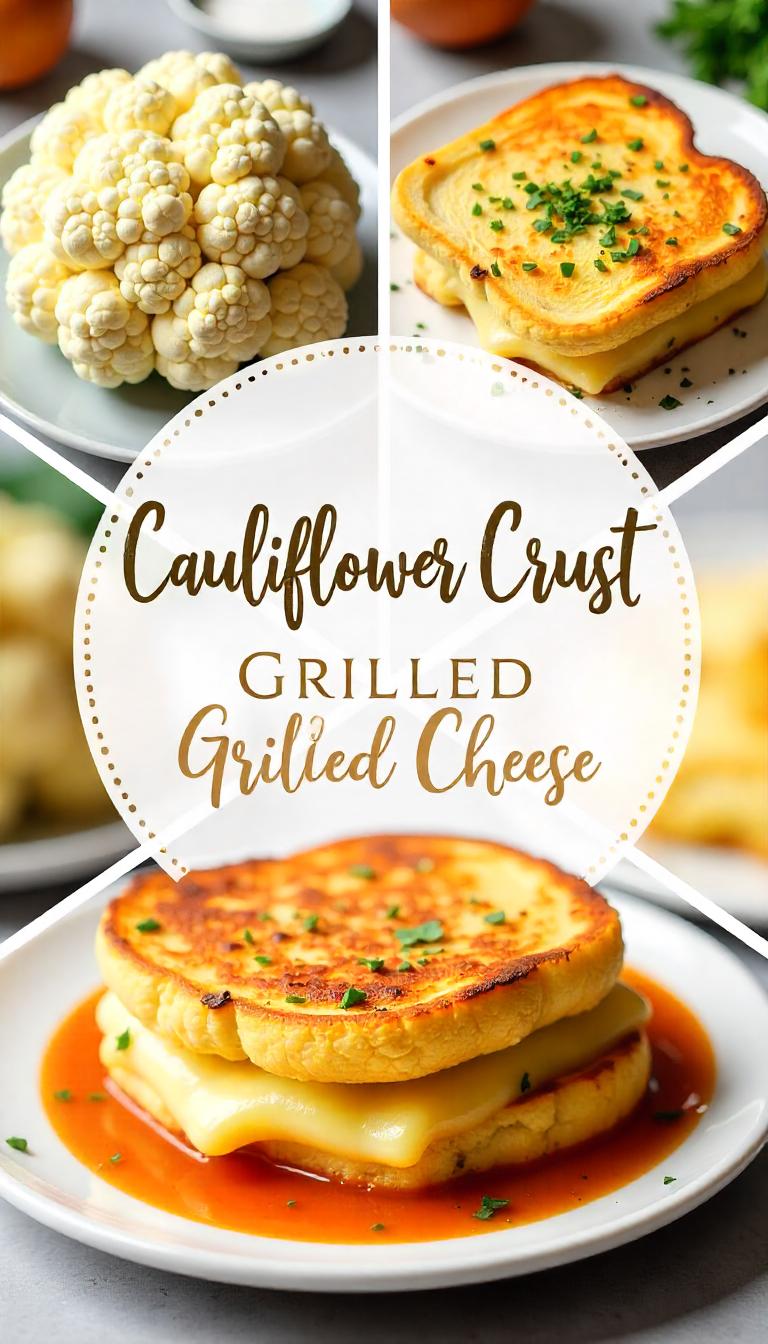
Cauliflower has become a staple in the world of healthy cooking, used in everything from pizza crusts to rice alternatives. In this recipe, it’s transformed into a crust that holds up beautifully to gooey melted cheese and grilling. Perfect for lunch, dinner, or even a satisfying snack, this recipe is versatile, delicious, and ideal for anyone following a keto, paleo, or low-carb diet.
Cauliflower Crust Grilled Cheese Recipe
Cuisine: American, Gluten-Free, Low-Carb
Course: Main Course, Lunch, Snack
Servings: 2 sandwiches
Calories per Serving: Approx. 340 kcal
Prep Time: 20 minutes
Active Time: 15 minutes
Resting Time: 10 minutes
Total Time: 45 minutes
Ingredients
For the Cauliflower Crust:
-
1 medium head of cauliflower (about 4 cups riced)
-
1 large egg
-
½ cup shredded mozzarella cheese
-
¼ cup grated Parmesan cheese
-
½ tsp garlic powder
-
½ tsp onion powder
-
¼ tsp salt
-
¼ tsp black pepper
For the Grilled Cheese Filling:
-
4 slices of cheddar cheese (or your preferred melting cheese)
-
1 tbsp butter (optional, for pan-grilling)
Equipment Needed
-
Food processor or box grater
-
Cheesecloth or clean dish towel
-
Baking sheet
-
Parchment paper
-
Spatula
-
Non-stick skillet or grill pan
-
Mixing bowl
Instructions
Step 1: Preheat and Prepare
Preheat your oven to 425°F (220°C). Line a baking sheet with parchment paper to prevent sticking and ensure even browning.
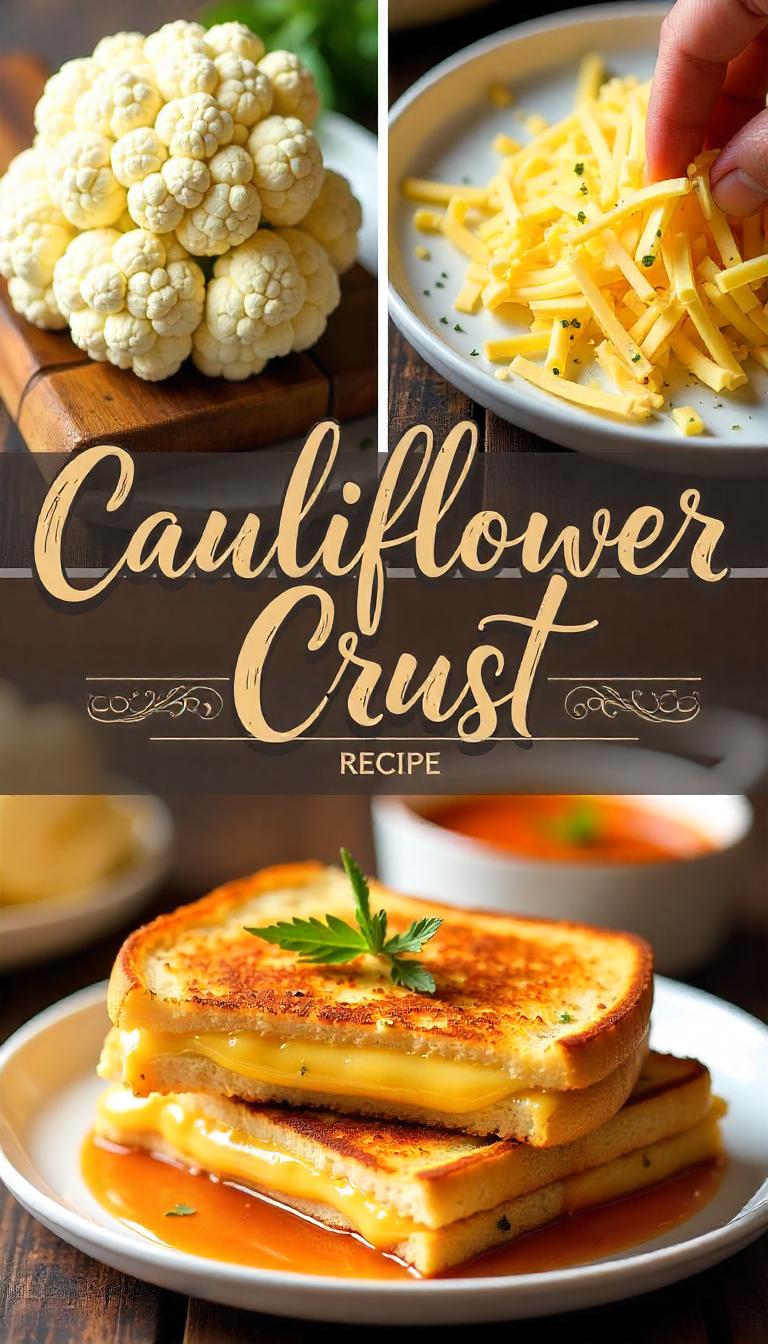
Step 2: Rice the Cauliflower
Cut the cauliflower into florets and place them in a food processor. Pulse until it resembles fine rice or breadcrumbs. If you don’t have a food processor, use a box grater. You should end up with about 4 cups of cauliflower rice.
Step 3: Steam and Drain
Microwave the riced cauliflower for 5–6 minutes in a microwave-safe bowl (or steam it on the stove). Let it cool for 5 minutes, then transfer it to a cheesecloth or clean kitchen towel. Squeeze out as much moisture as possible—this step is crucial to avoid a soggy crust.
Step 4: Make the Dough
In a mixing bowl, combine the drained cauliflower rice, egg, mozzarella, Parmesan, garlic powder, onion powder, salt, and pepper. Mix until a dough-like consistency forms.
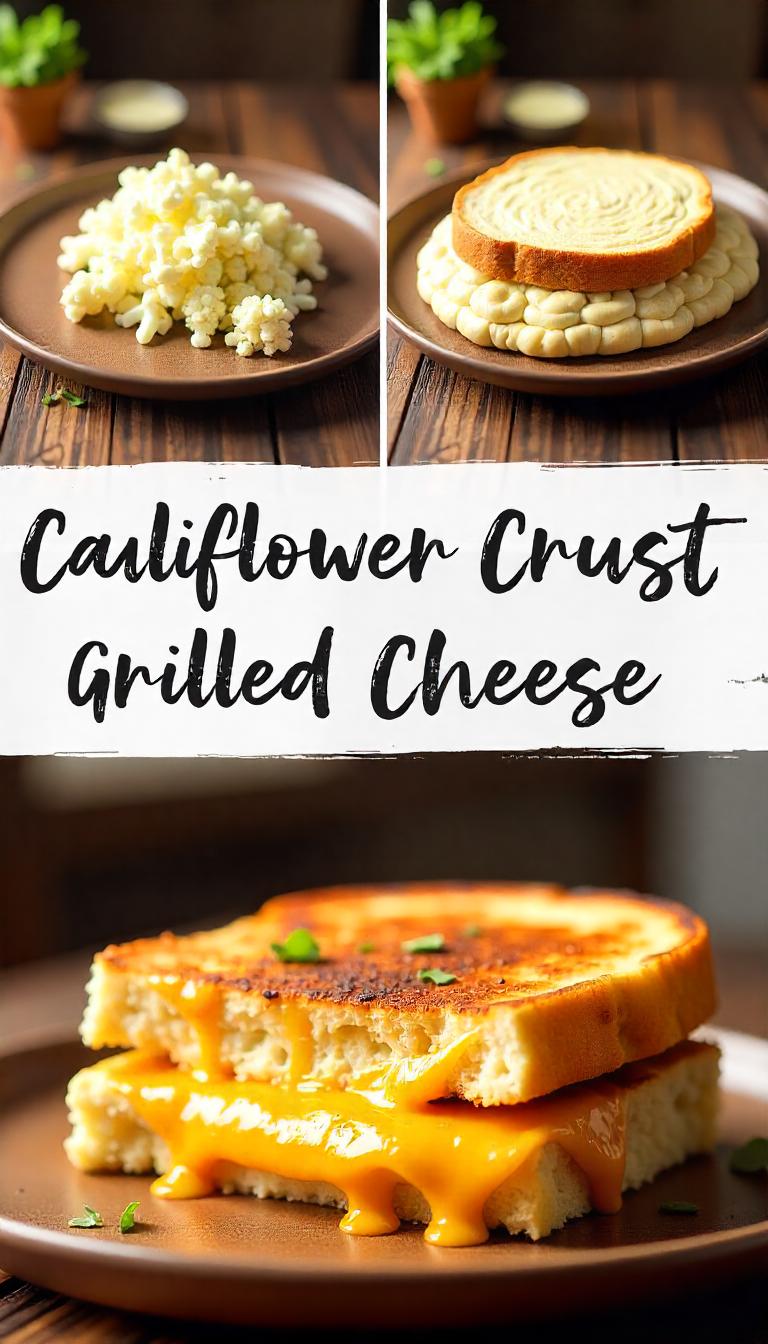
Step 5: Form the “Bread” Slices
Divide the mixture into four equal portions. Using your hands, shape each portion into a rectangle (about the size of sandwich bread) on the lined baking sheet. Make sure they are flat and even for uniform cooking.
Step 6: Bake the Crusts
Bake in the preheated oven for 15–20 minutes, flipping halfway through, until golden brown and firm. Let them rest for 5–10 minutes to firm up further.
Step 7: Assemble the Sandwich
Place a slice of cheese between two cauliflower crusts to form a sandwich. Repeat for the second sandwich.
Step 8: Grill the Sandwich
Heat a non-stick skillet or grill pan over medium heat. Optionally, melt a little butter in the pan. Place the sandwiches in the pan and cook for 2–3 minutes per side, pressing down gently with a spatula, until the cheese is melted and the crust is golden and crispy.
Step 9: Serve and Enjoy
Remove from the skillet, slice in half, and enjoy warm! Serve with a side of low-carb tomato soup, fresh greens, or enjoy on its own.
Nutritional Information (per sandwich)
| Nutrient | Amount |
|---|---|
| Calories | 340 kcal |
| Carbohydrates | 8g |
| Protein | 22g |
| Fat | 25g |
| Fiber | 3g |
| Sugar | 2g |
| Net Carbs | 5g |
| Sodium | 600mg |
| Calcium | 350mg |
Note: Nutritional values are estimates and may vary based on specific ingredients used.
Tips & Variations
-
Cheese Options: Use a mix of cheddar and mozzarella for a stretchy, gooey filling. Gouda, provolone, or Swiss work well too.
-
Add Flavor: Mix herbs like oregano or basil into the cauliflower crust for an Italian twist.
-
Vegan Option: Use flax egg (1 tbsp flaxseed meal + 2.5 tbsp water) and dairy-free cheese for a vegan version.
-
Storage: Store leftover cauliflower crusts in the fridge for up to 3 days or freeze for up to 1 month. Reheat in a toaster oven or skillet before assembling.
-
Make it a Meal: Pair with soup or a fresh salad for a satisfying lunch or dinner.
Why You’ll Love This Recipe
This Cauliflower Crust Grilled Cheese Recipe is a game-changer for those who love grilled cheese but want to avoid bread and excess carbs. It’s:
-
Low-carb & keto-friendly
-
Naturally gluten-free
-
Packed with hidden veggies
-
High in protein and fiber
-
Perfectly crispy and cheesy
The crust has a lovely texture—crispy on the outside, soft on the inside, and flavorful enough to stand on its own. Combined with melted cheese, it offers all the nostalgic comfort of a traditional grilled cheese sandwich without the guilt.
Final Thoughts
Cauliflower continues to prove its versatility in the kitchen, and this creative take on a classic sandwich is no exception. Whether you’re eating clean, avoiding gluten, or just looking to try something new, this cauliflower crust grilled cheese will surprise and satisfy. Give it a try—you might never go back to regular bread again!

I am Ashley Doyle, Senior Specialist in Food & Policy at The Humane Society of the United States and editor at airfryermama.com. I am passionate about transforming our global food system by promoting delicious, climate-friendly, plant-based foods. After transitioning from law to food and public policy, I now work with major food service companies to develop plant-based initiatives and animal welfare policies. My goal is to drive institutional change to combat climate change and improve our food system.