
If you’re a fan of tea and love indulging in gourmet-style desserts, this Earl Grey Ice Cream recipe is about to become your new favorite treat. Delicately floral, rich, and creamy with the unmistakable aroma of bergamot, this homemade ice cream brings together the refinement of Earl Grey tea and the satisfying creaminess of classic custard-based ice cream.
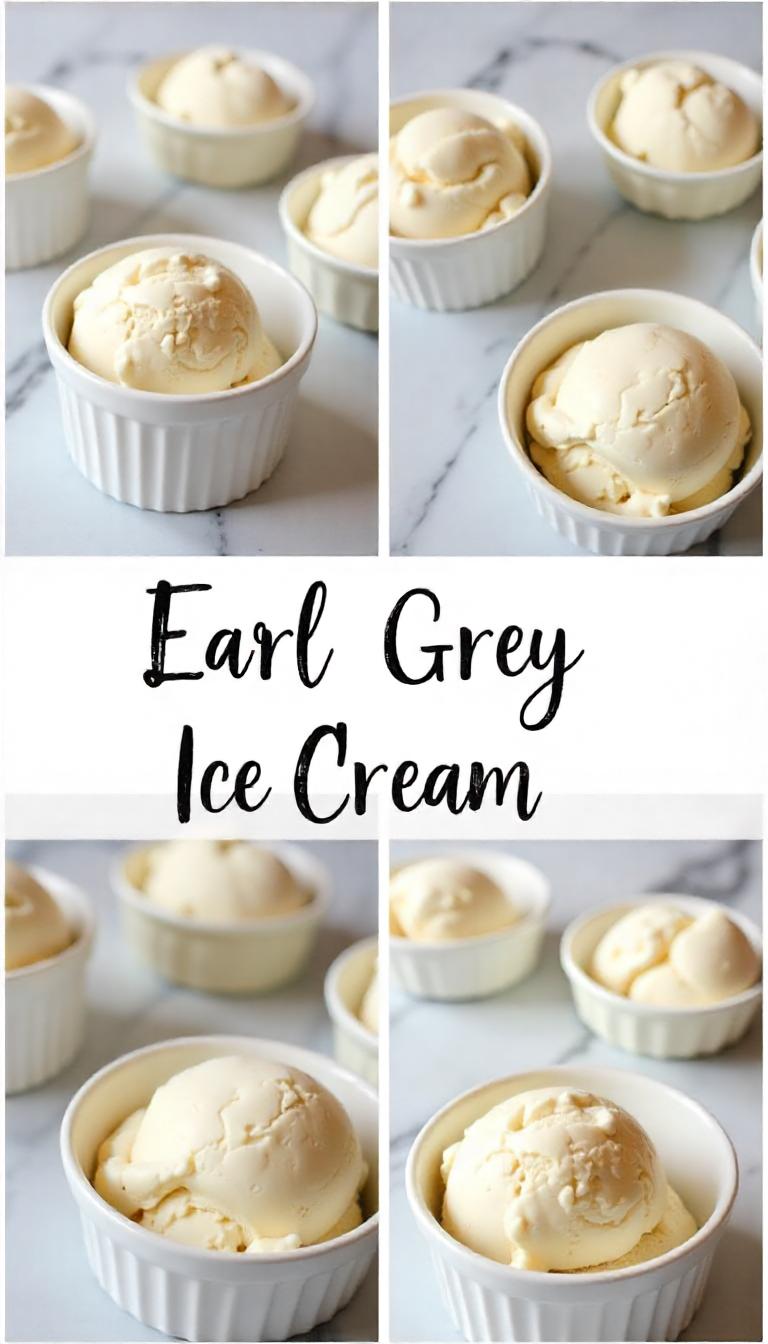
Perfect for tea lovers, elegant dinner parties, or simply a refreshing twist to your dessert menu, this recipe transforms an ordinary scoop into a refined, flavorful experience. Whether served in a cone, bowl, or as an accompaniment to baked goods like shortbread or pound cake, Earl Grey ice cream stands out for its aromatic depth and velvety texture.
🕒 Recipe Overview
-
Prep Time: 10 minutes
-
Active Time: 20 minutes
-
Resting/Infusing Time: 30 minutes
-
Chilling Time: 4 hours
-
Churning Time: 25–30 minutes
-
Freezing Time: 4 hours or overnight
-
Total Time: ~9 hours
-
Cuisine: British / French
-
Course: Dessert
-
Servings: 6
-
Calories: ~290 per serving
🧾 Ingredients
-
2 cups (480 ml) heavy cream
-
1 cup (240 ml) whole milk
-
3/4 cup (150 g) granulated sugar
-
5 large egg yolks
-
4 bags of Earl Grey tea (or 4 tsp loose leaf)
-
1 tsp vanilla extract
-
Pinch of salt
Optional Add-ons:
1 tsp honey (for a floral note)
1/2 tsp lemon zest (for brightness)
Crushed shortbread cookies (to fold in at the end)
🍽️ Equipment
-
Medium saucepan
-
Whisk
-
Mixing bowls
-
Fine mesh strainer
-
Ice cream maker
-
Thermometer (optional but helpful)
-
Airtight freezer container
🧑🍳 Instructions
Step 1: Infuse the Cream with Earl Grey
In a medium saucepan, combine the milk and cream. Heat the mixture over medium heat until it’s hot but not boiling (around 170°F/77°C). Remove from heat and add the Earl Grey tea bags or loose tea. Cover and let steep for 30 minutes to fully infuse the flavor.
Tip: For stronger tea flavor, steep a little longer, but avoid bitterness by not exceeding 45 minutes.
Step 2: Strain the Tea
After the infusion, remove the tea bags or strain out loose tea leaves using a fine mesh sieve. Reheat the cream mixture just slightly so it’s warm again.
Step 3: Prepare the Egg Mixture
In a separate bowl, whisk together the egg yolks, sugar, and salt until the mixture becomes slightly pale and smooth.
Step 4: Temper the Eggs
Slowly pour about 1/2 cup of the warm cream mixture into the egg mixture, whisking constantly to prevent the yolks from scrambling. Gradually add the rest of the cream mixture, stirring constantly.
Step 5: Cook the Custard
Return the mixture to the saucepan and cook over medium-low heat, stirring frequently with a wooden spoon or silicone spatula. Cook until the custard thickens slightly and coats the back of the spoon (around 170–175°F/77–80°C). Do not boil.
Step 6: Add Vanilla
Once thickened, remove from heat and stir in the vanilla extract (and honey or lemon zest, if using). Strain the custard through a fine sieve into a clean bowl to remove any cooked egg bits and achieve a silky texture.
Step 7: Chill the Base
Cover the bowl with plastic wrap directly on the surface of the custard to prevent skin from forming. Chill in the refrigerator for at least 4 hours or until fully cold. Overnight chilling is ideal for maximum flavor development.
Step 8: Churn the Ice Cream
Pour the chilled custard into your ice cream maker and churn according to the manufacturer’s instructions, usually about 25–30 minutes, until it reaches a soft-serve consistency.
Step 9: Freeze
Transfer the churned ice cream into an airtight container. For firmer ice cream, freeze for 4 hours or overnight.
Optional: Fold in crushed shortbread cookies before freezing for added texture.
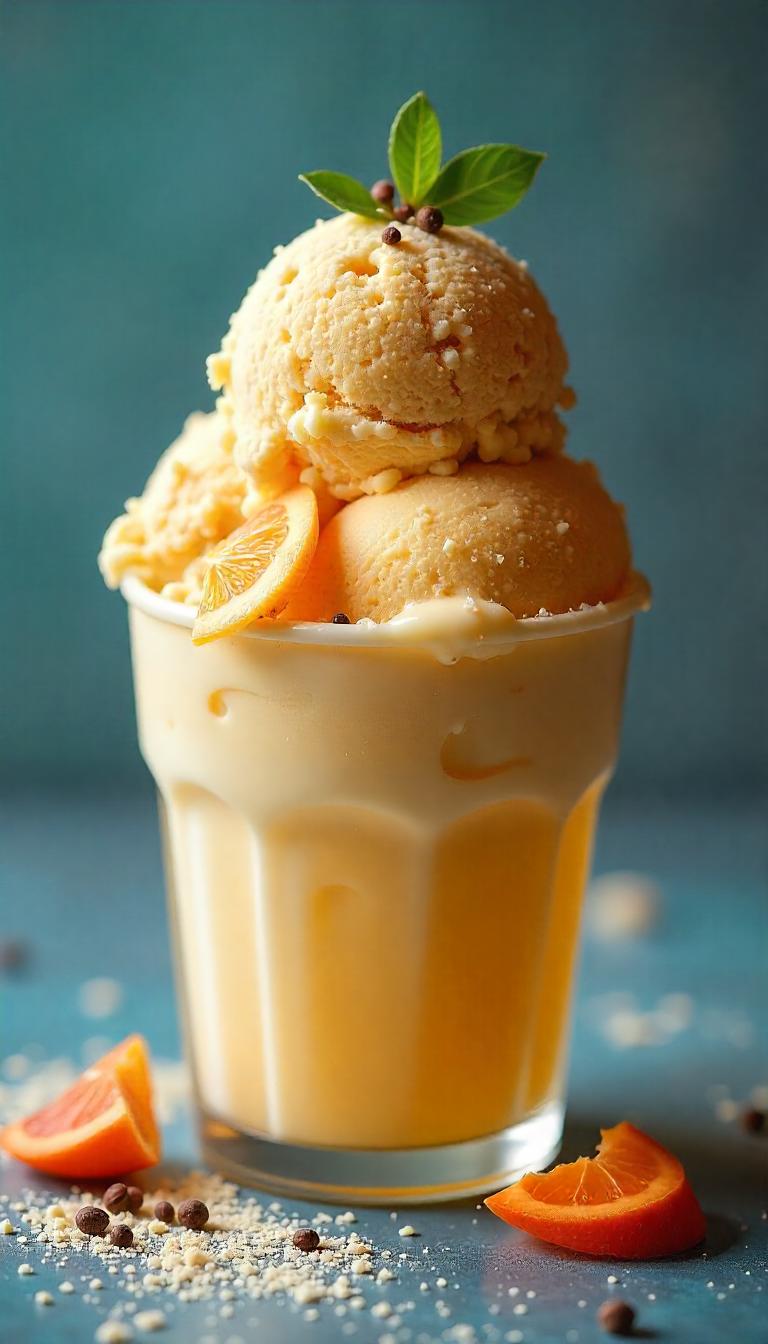
🥣 Serving Suggestions
-
Serve in waffle cones for a classic touch
-
Pair with lavender or lemon pound cake
-
Top with edible flowers for a sophisticated presentation
-
Drizzle with honey or a lemon glaze for extra flair
🔬 Nutrition Information (Per Serving, Approximate)
-
Calories: 290
-
Fat: 20g
-
Saturated Fat: 12g
-
Cholesterol: 185mg
-
Carbohydrates: 22g
-
Sugar: 20g
-
Protein: 5g
-
Sodium: 40mg
Note: Nutritional values may vary based on portion size and any modifications (e.g. add-ins like cookies).
💡 Why This Recipe Works
This recipe marries the subtly floral and citrusy notes of Earl Grey with the richness of a French-style custard base. The key to success lies in carefully infusing the tea without letting it become bitter and in tempering the eggs correctly for that smooth and velvety texture.
The result? A refreshing, luxurious ice cream that tastes like a creamy afternoon tea in frozen form.
🌱 Tips & Variations
-
Vegan Version: Use full-fat coconut milk and a plant-based cream substitute, along with a thickener like arrowroot powder or cornstarch instead of egg yolks.
-
No Ice Cream Maker? After chilling the custard, pour it into a freezer-safe container, stir every 30 minutes for the first 2–3 hours to break up ice crystals.
-
Lighter Version: Substitute half-and-half for cream, or use low-fat milk (though the texture will be less rich).
🎯 Final Thoughts
The Earl Grey Ice Cream recipe is a beautiful example of how classic flavors can be transformed into modern desserts. Ideal for summer evenings, afternoon teas, or as an elegant addition to dinner parties, this recipe delivers a unique flavor that’s both nostalgic and refined.
Once you try it, you may never go back to store-bought vanilla again!

I am Ashley Doyle, Senior Specialist in Food & Policy at The Humane Society of the United States and editor at airfryermama.com. I am passionate about transforming our global food system by promoting delicious, climate-friendly, plant-based foods. After transitioning from law to food and public policy, I now work with major food service companies to develop plant-based initiatives and animal welfare policies. My goal is to drive institutional change to combat climate change and improve our food system.