
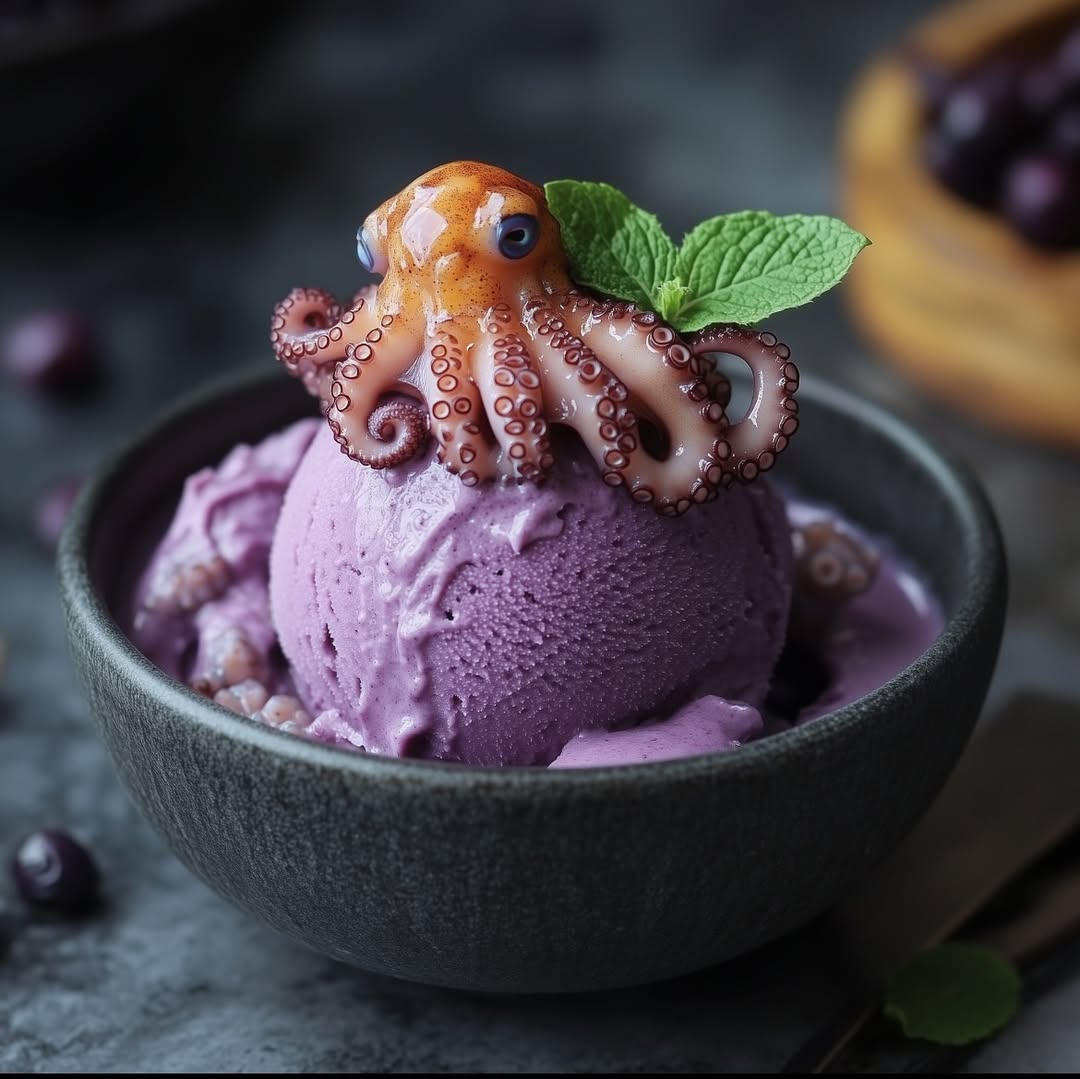
Elderberry Ice Cream Recipe – Elderberries have long been celebrated for their health-boosting properties, particularly when it comes to supporting the immune system. These tiny, deep purple berries are packed with antioxidants, vitamins, and flavor. While they are often used in syrups, jams, and teas, one of the most delightful and creative ways to enjoy them is in homemade ice cream. This Elderberry Ice Cream Recipe is a perfect fusion of rich creaminess and fruity tartness, offering a refreshing treat that’s not only delicious but also nourishing.
Whether you’re seeking a unique flavor to surprise guests or simply want to enjoy a nutrient-rich dessert, this elderberry ice cream brings together natural ingredients and vibrant taste in every bite. Best of all, it can be made without an ice cream maker and includes simple ingredients you may already have in your pantry.
Overview
-
Prep Time: 15 minutes
-
Active Time: 20 minutes
-
Resting Time (Chill + Freeze): 4-6 hours
-
Total Time: 6.5 hours
-
Cuisine: American, European
-
Course: Dessert
-
Servings: 6 servings
-
Calories (per serving): ~210 kcal
🍴 Equipment Needed
-
Saucepan
-
Whisk
-
Mixing bowls
-
Fine mesh strainer or cheesecloth
-
Ice cream maker (optional)
-
Freezer-safe container
-
Spatula
-
Measuring cups and spoons
🥄 Ingredients
-
1 cup elderberries (fresh or frozen)
-
1/2 cup sugar (or honey)
-
1/2 cup water
-
2 cups heavy cream
-
1 cup whole milk
-
4 egg yolks
-
1 tsp vanilla extract
-
Pinch of salt
-
1 tsp lemon juice (optional, for brightness)
🍨 Instructions
Step 1: Prepare the Elderberry Syrup
-
In a saucepan, combine the elderberries, 1/2 cup of sugar, and 1/2 cup of water.
-
Bring to a simmer over medium heat. Cook for about 10–12 minutes, gently mashing the berries as they soften.
-
Once the mixture thickens, strain it through a fine mesh sieve or cheesecloth to remove the seeds and skins. You should get about 1/2 to 2/3 cup of syrup.
-
Allow the syrup to cool to room temperature. Set aside.
Step 2: Make the Custard Base
-
In a bowl, whisk together the egg yolks with a few tablespoons of the milk until smooth.
-
In a medium saucepan, combine the heavy cream, the rest of the milk, and a pinch of salt. Heat until it’s hot but not boiling.
-
Slowly pour a small amount of the hot cream into the egg yolks while whisking continuously (this is called tempering).
-
Pour the egg mixture back into the saucepan and return it to low heat. Stir constantly with a spatula until the mixture thickens slightly and coats the back of a spoon. Do not boil.
-
Remove from the heat and stir in the vanilla extract.
Step 3: Combine Syrup and Custard
-
Let the custard base cool slightly, then stir in the cooled elderberry syrup and lemon juice.
-
Mix well to combine evenly. Taste and adjust the sweetness if needed.
Step 4: Chill the Mixture
-
Cover the mixture and place it in the refrigerator for at least 2–3 hours or until completely chilled.
-
For best results, leave it overnight.
Step 5: Churn and Freeze
If using an ice cream maker:
-
Pour the chilled mixture into the machine and churn according to the manufacturer’s instructions (usually around 20–25 minutes).
-
Once it reaches soft-serve consistency, transfer it to a freezer-safe container and freeze for another 2–4 hours until firm.
If not using an ice cream maker:
-
Pour the mixture into a shallow container and place it in the freezer.
-
Every 30–45 minutes, stir the mixture with a fork or whisk to break up ice crystals. Repeat 4–5 times until creamy, then allow it to set completely.
🧪 Nutritional Information (Per Serving)
-
Calories: 210 kcal
-
Fat: 15g
-
Saturated Fat: 9g
-
Carbohydrates: 18g
-
Sugar: 15g
-
Protein: 4g
-
Fiber: 1g
-
Vitamin C: 10% DV
-
Calcium: 6% DV
-
Iron: 2% DV
💡 Tips and Variations
-
Vegan Option: Substitute coconut cream and almond milk for the dairy and use maple syrup or agave instead of sugar.
-
No Elderberries? Try elderberry syrup (pre-made) and reduce the added sugar accordingly.
-
Add-ins: Mix in crushed shortbread cookies, dark chocolate chunks, or swirl with honey after churning for extra flair.
-
Serving Suggestion: Serve with fresh berries, a sprig of mint, or a drizzle of elderberry reduction.
🫐 Health Benefits of Elderberries
Elderberries are often referred to as a superfood due to their dense nutritional profile. They are rich in:
-
Antioxidants: Flavonoids that help reduce oxidative stress.
-
Vitamin C: Supports immune health and collagen production.
-
Dietary Fiber: Supports digestive health.
-
Anti-viral properties: Elderberries are traditionally used to reduce the duration of cold and flu symptoms.
Incorporating them into desserts like this Elderberry Ice Cream Recipe is a creative way to enjoy their benefits year-round.
👨👩👧 Perfect For:
-
Summer dessert tables
-
Immune-boosting treats
-
Berry lovers seeking something new
-
Family-friendly frozen snacks
-
Healthy-ish indulgence seekers
🌟 Final Thoughts
This Elderberry Ice Cream Recipe is more than just a dessert—it’s an experience of flavor, wellness, and creativity. With a subtle tartness from the elderberries balanced by the richness of cream and vanilla, this ice cream is bound to become a favorite. Plus, knowing that you’re indulging in a treat that brings health benefits makes it all the more rewarding.
Whether you’re making it for a summer garden party or a quiet evening with loved ones, this recipe is a perfect blend of tradition, nutrition, and joy. Try it once, and you’ll be hooked.

I am Ashley Doyle, Senior Specialist in Food & Policy at The Humane Society of the United States and editor at airfryermama.com. I am passionate about transforming our global food system by promoting delicious, climate-friendly, plant-based foods. After transitioning from law to food and public policy, I now work with major food service companies to develop plant-based initiatives and animal welfare policies. My goal is to drive institutional change to combat climate change and improve our food system.