
Icebox Cake Recipe – There are desserts that impress with their elegance, and then there are desserts that become staples because they are unbelievably easy, delicious, and versatile. The classic icebox cake fits perfectly into the latter category.
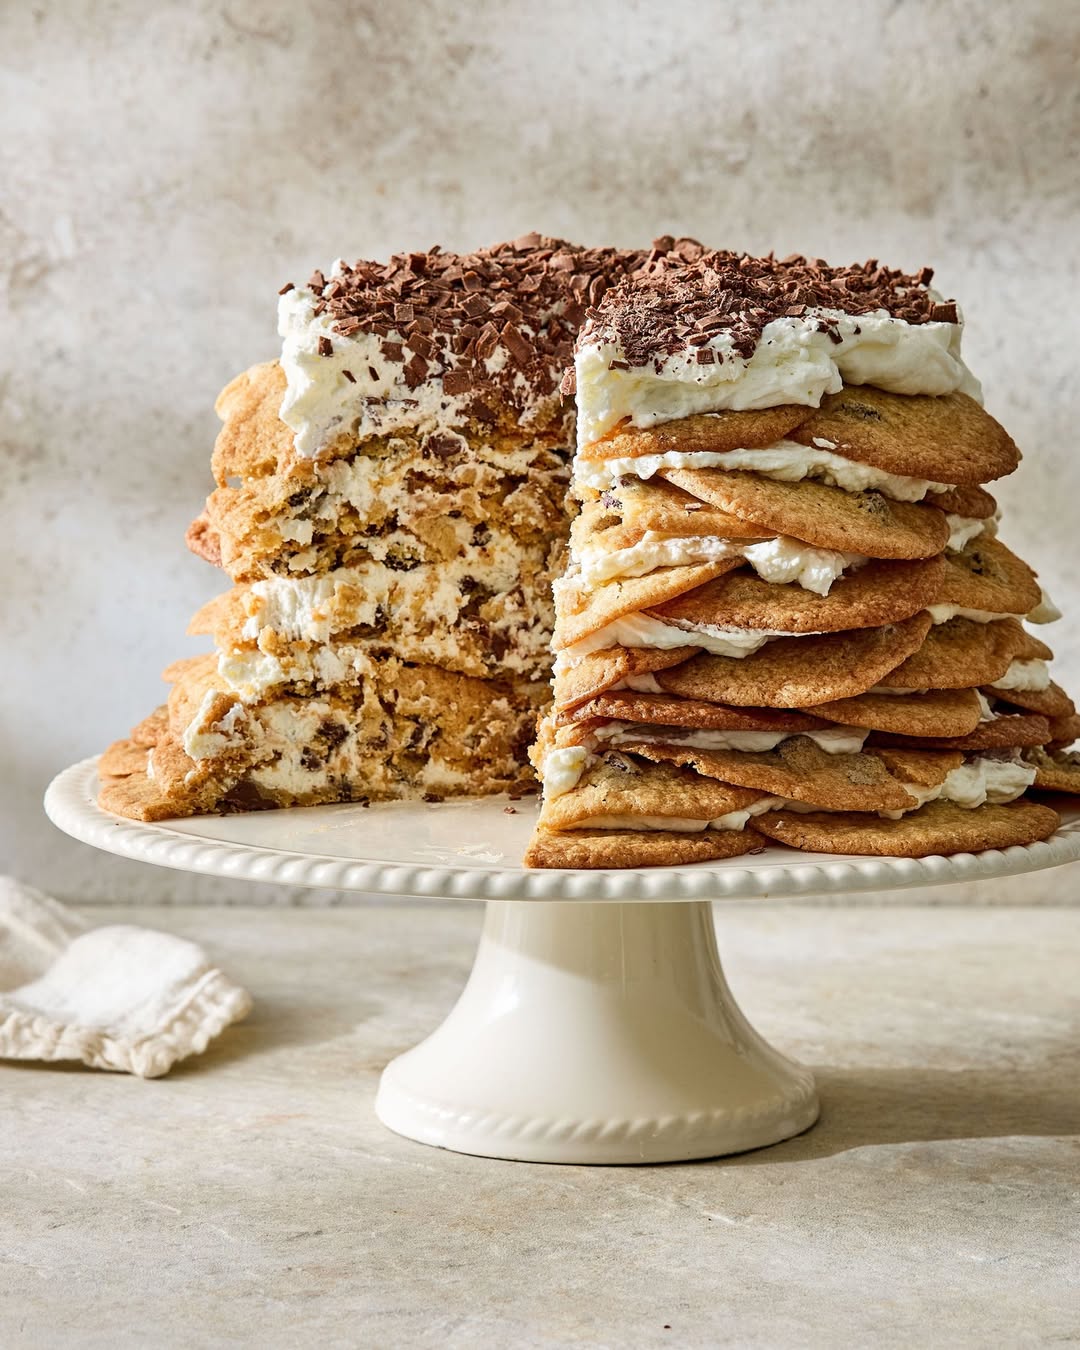
With its simple layers of cookies or crackers and luscious whipped cream or pudding, an icebox cake transforms everyday ingredients into a dreamy, melt-in-your-mouth dessert without ever turning on the oven.
Recipe Time Overview
-
Prep Time: 20 minutes
-
Active Time: 20 minutes
-
Resting / Chilling Time: 6–8 hours (overnight preferred)
-
Total Time: About 6–9 hours
-
Cuisine: American
-
Course: Dessert
-
Servings: 12
Nutrition Table (Per Serving)
| Nutrient | Amount |
|---|---|
| Calories | 360 |
| Carbohydrates | 34g |
| Protein | 3g |
| Fat | 24g |
| Saturated Fat | 15g |
| Sugar | 21g |
| Fiber | 1g |
| Sodium | 135mg |
Equipment Needed
-
9×13-inch baking dish or loaf pan
-
Electric hand mixer or stand mixer
-
Mixing bowls
-
Spatula
-
Whisk
-
Plastic wrap or foil
-
Offset spatula (optional but helpful for spreading layers)
Ingredients
For the Cream Layer
-
3 cups heavy whipping cream
-
½ cup powdered sugar
-
2 teaspoons vanilla extract
-
Optional: 4 oz cream cheese, softened (for thicker, more stable layers)
For the Cookie Layers
-
3–4 sleeves of graham crackers or
-
2 packages of chocolate wafer cookies or
-
Ladyfingers (optional variation)
Instructions
1. Prepare the Whipped Cream
-
Pour the heavy whipping cream into a large chilled bowl.
-
Add powdered sugar and vanilla extract.
-
Beat on medium-high speed for 2–3 minutes until stiff peaks form.
-
Optional: Beat cream cheese separately until fluffy, then fold into the whipped cream for added richness and stability.
The whipped cream should be thick enough to hold its shape—it is the main structural component of the cake.
2. Prepare Your Baking Dish
-
Lightly spread a thin layer of whipped cream on the bottom of the pan.
-
This keeps the cookies from sliding and helps them soften evenly.
-
3. Assemble the Layers
First Layer
-
Add one layer of graham crackers or cookies across the bottom of the dish.
-
Break pieces to fill the edges and create an even base.
Cream Layer
-
Spread a generous layer of whipped cream over the cookies.
-
Aim for about ½–¾ inch thickness.
Repeat
-
Continue layering cookies and whipped cream until you’ve used all ingredients, finishing with a top layer of cream.
4. Add Optional Toppings
Before chilling, you can add:
-
Crushed cookies
-
Cocoa powder dusting
-
Shaved chocolate
-
Fresh fruit slices
-
Caramel or chocolate drizzle
The toppings add visual appeal and extra flavor.
5. Chill the Cake
-
Cover the dish tightly with plastic wrap or foil.
-
Refrigerate for at least 6 hours, but overnight is best.
-
During this time, the cookies transform into soft, cake-like layers as they absorb moisture.
-
6. Slice and Serve
-
Once chilled, remove the cake from the refrigerator.
-
Slice using a sharp knife, cleaned between cuts for clean layers.
-
Serve chilled straight from the pan.
This cake stays fresh and delicious for 3–4 days.
Serving Suggestions
-
Serve chilled with extra whipped cream.
-
Top with berries, mint, chocolate curls, or cookie crumbs.
-
Enjoy with iced coffee, tea, or lemonade.
-
For parties, add decorative swirls or fruit patterns on top.
Conclusion
This no-bake dessert is the definition of effortless elegance. With just a few pantry staples and simple assembly steps, you can create a luscious, creamy cake that tastes like it took hours to prepare. Whether you’re hosting a gathering, looking for a refreshing summer treat, or want a light yet satisfying dessert any time of year, this icebox cake never disappoints. Its layered texture, customizable flavors, and melt-in-your-mouth creaminess make it a timeless classic that will always earn compliments.