
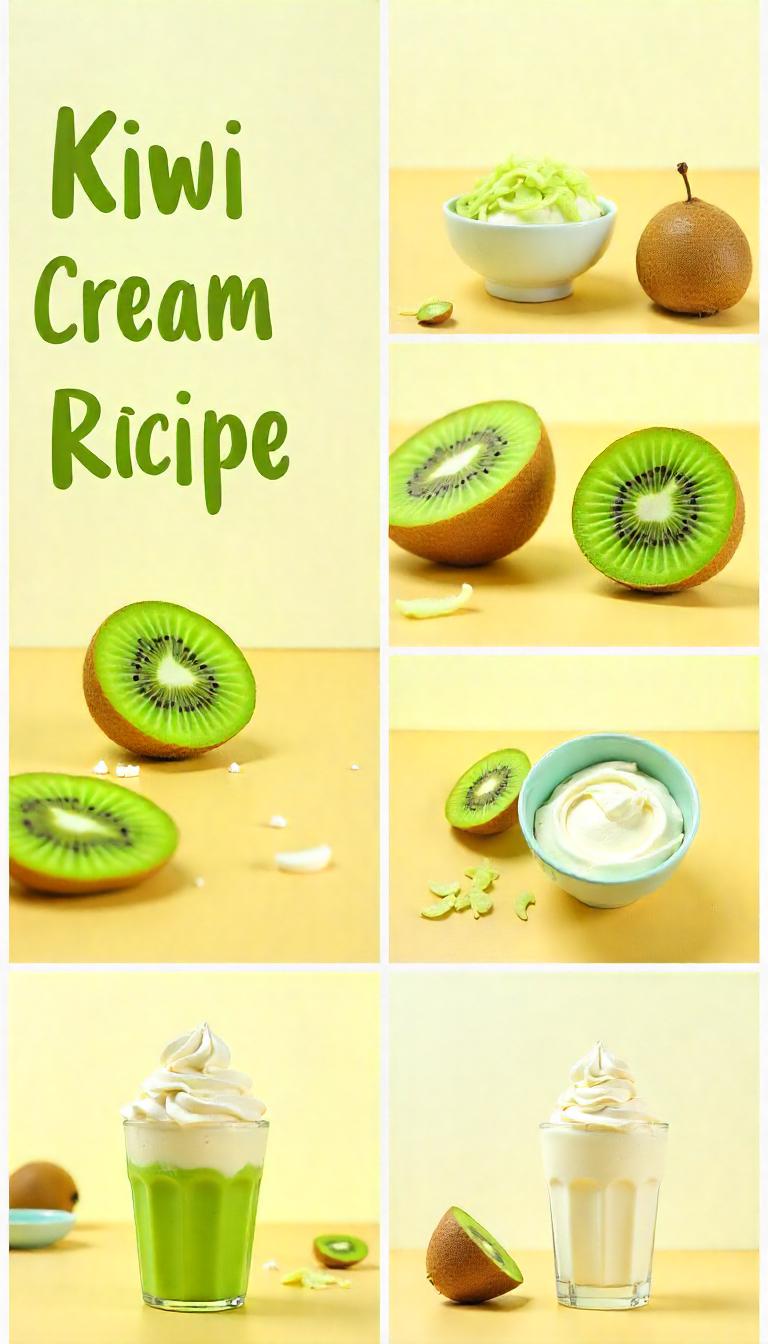
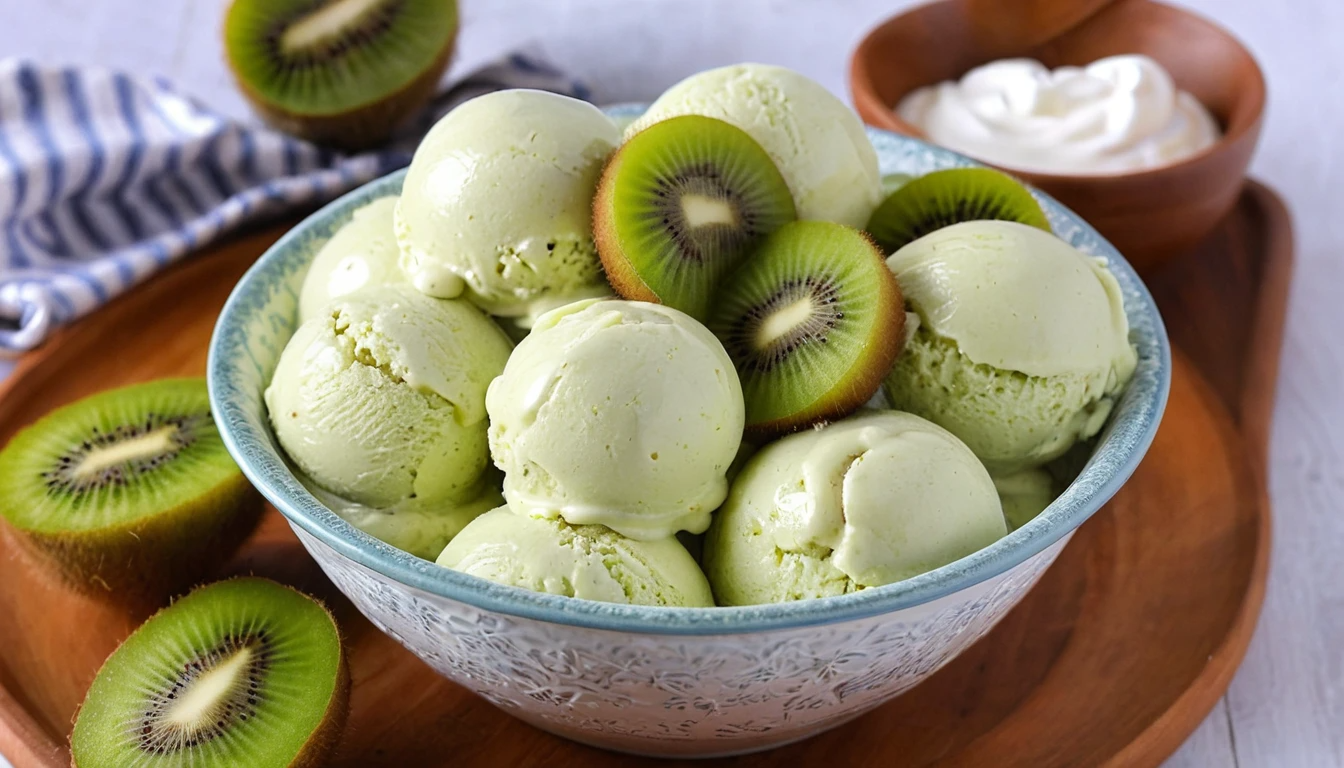
Kiwi ice cream is a refreshing and delicious frozen treat perfect for hot summer days. This creamy dessert captures the tangy sweetness of kiwifruit, blended with a smooth and rich base to create a delightful treat that everyone will love. Whether you’re making it with an ice cream maker or opting for a no-churn method, this recipe will guide you through the process step by step. Kiwifruit is packed with vitamins, antioxidants, and fiber, making this dessert a slightly healthier option compared to store-bought ice creams. Enjoy this homemade kiwi ice cream as a standalone dessert or as a topping for cakes and waffles!
Nutrition Information (Per Serving)
- Calories: 180 kcal
- Carbohydrates: 32g
- Protein: 3g
- Fat: 6g
- Saturated Fat: 3g
- Cholesterol: 25mg
- Sodium: 50mg
- Fiber: 2g
- Sugar: 28g
- Vitamin C: 75% of Daily Value
- Calcium: 8% of Daily Value
Recipe Details
- Prep Time: 15 minutes
- Active Time: 10 minutes
- Resting Time: 4-6 hours
- Total Time: 6 hours 25 minutes
- Cuisine: International
- Course: Dessert
- Servings: 6
- Calories per serving: 180 kcal
Equipment Needed
- Blender or food processor
- Ice cream maker (optional)
- Mixing bowls
- Whisk or hand mixer
- Freezer-safe container
- Spatula
Ingredients

- 4 ripe kiwis, peeled and chopped
- 1 cup heavy cream
- 1/2 cup whole milk
- 3/4 cup granulated sugar
- 1 teaspoon vanilla extract
- 1 tablespoon lemon juice
- 1/4 teaspoon salt
- 1 egg yolk (optional, for extra creaminess)
- 1/2 cup Greek yogurt (optional, for a tangy twist)
Instructions
Step 1: Prepare the Kiwi Puree
- Peel and chop the kiwis into small pieces.
- Place the chopped kiwi in a blender or food processor.
- Add lemon juice and blend until smooth. Set aside.
Step 2: Prepare the Ice Cream Base
- In a mixing bowl, whisk together the heavy cream, whole milk, sugar, vanilla extract, and salt until well combined.
- If using an egg yolk for extra creaminess, gently heat the milk mixture over low heat, stirring constantly, until slightly thickened. Do not let it boil.
- Allow the mixture to cool completely.
Step 3: Combine Kiwi Puree with Ice Cream Base
- Once the milk mixture is cooled, mix in the kiwi puree.
- If using Greek yogurt, fold it in for a tangy taste and extra creaminess.
Step 4: Churn or Freeze
- With an Ice Cream Maker: Pour the mixture into your ice cream maker and churn according to the manufacturer’s instructions (usually about 20-25 minutes).
- Without an Ice Cream Maker: Pour the mixture into a freezer-safe container and freeze. Stir the mixture every 30 minutes for 4 hours to prevent ice crystals from forming.
Step 5: Final Freezing and Serving
- Once the ice cream reaches a thick and creamy consistency, transfer it to an airtight container.
- Freeze for at least 4-6 hours until fully set.
- Before serving, let it sit at room temperature for a few minutes to soften slightly.
- Scoop and enjoy!
Serving Suggestions
- Serve with fresh kiwi slices or other fruits like strawberries and blueberries.
- Drizzle honey or chocolate sauce for added sweetness.
- Use it as a filling for ice cream sandwiches.
Enjoy this homemade Kiwi Ice Cream Recipe, a perfect balance of tangy kiwi flavor and rich, creamy goodness!

I am Ashley Doyle, Senior Specialist in Food & Policy at The Humane Society of the United States and editor at airfryermama.com. I am passionate about transforming our global food system by promoting delicious, climate-friendly, plant-based foods. After transitioning from law to food and public policy, I now work with major food service companies to develop plant-based initiatives and animal welfare policies. My goal is to drive institutional change to combat climate change and improve our food system.