
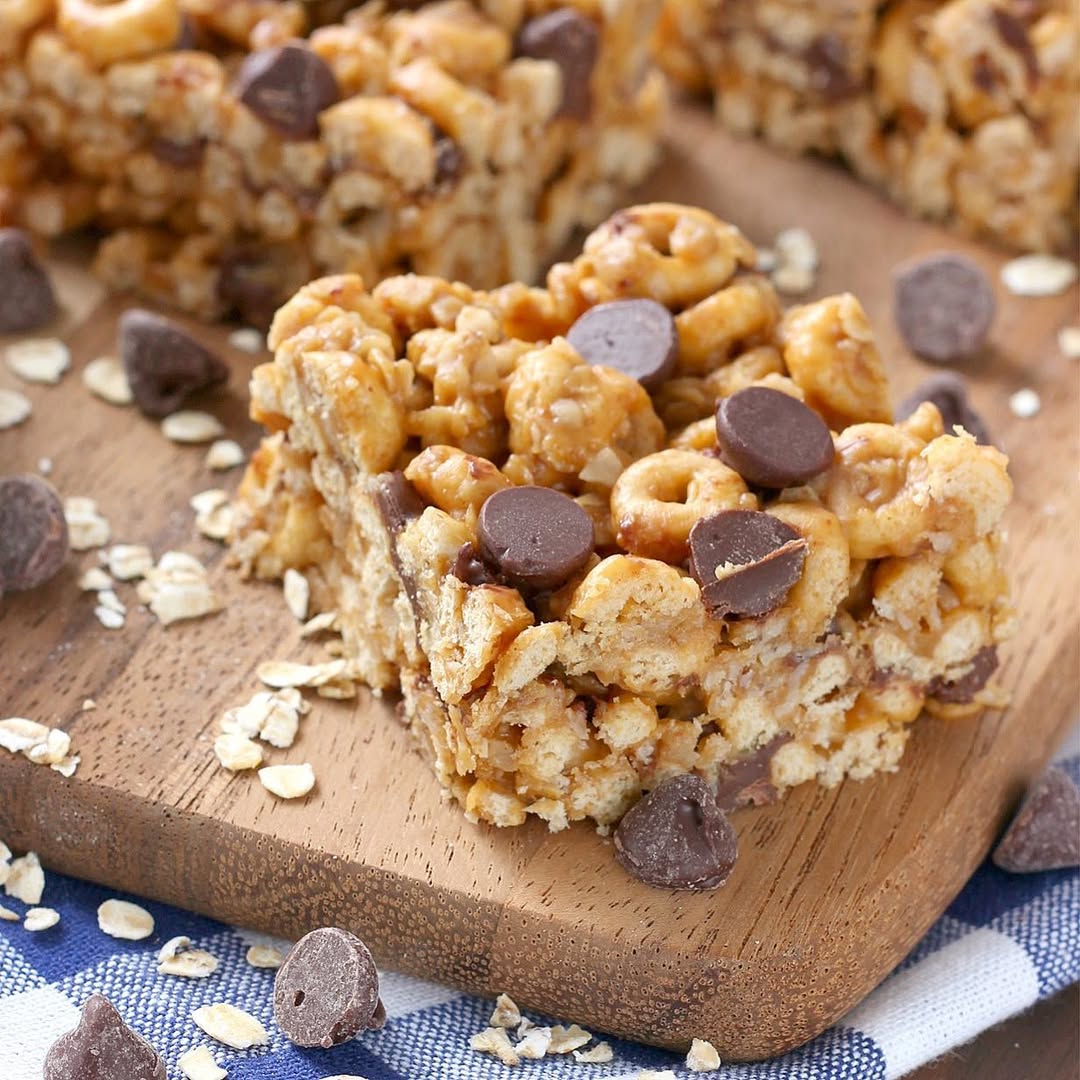
Chocolate Cereal Bars Recipe – If you’re craving a quick, sweet, and crunchy snack that’s both satisfying and incredibly easy to prepare, Chocolate Cereal Bars Recipe is the perfect choice. These no-bake treats combine the irresistible richness of chocolate with the crunch of cereal, creating a snack bar that works for all occasions—whether it’s a school lunchbox, an afternoon pick-me-up, or even a light dessert.

Unlike store-bought bars, this homemade version lets you control the ingredients, making them healthier and customizable. You can keep them classic with just cereal and chocolate, or elevate them with add-ins like peanut butter, dried fruits, seeds, or nuts for extra flavor and nutrition.
Recipe Overview
-
Prep Time: 10 minutes
-
Active Time: 10 minutes
-
Resting/Chill Time: 1 hour
-
Total Time: 1 hour 20 minutes
Cuisines
-
Global
-
American-inspired
-
Fusion Snack
Course
-
Snack
-
Dessert
-
Kids’ Treat
Servings
-
Makes about 12 bars
Calories
-
About 210 calories per serving
Equipment Needed
-
Large mixing bowl
-
Medium saucepan (or microwave-safe bowl)
-
Spatula
-
9×9-inch square baking pan
-
Parchment paper
-
Knife for cutting bars
Ingredients
-
4 cups crispy rice cereal (or any cereal of choice)
-
1 ½ cups chocolate chips (milk, dark, or semi-sweet)
-
½ cup peanut butter (optional, for flavor & binding)
-
3 tbsp honey or maple syrup (for sweetness & stickiness)
-
1 tsp vanilla extract
-
A pinch of salt
-
Optional toppings: chopped nuts, dried cranberries, shredded coconut, or sprinkles
Nutrition
| Nutrient | Amount |
| Calories | 210 kcal |
| Carbohydrates | 28 g |
| Protein | 3 g |
| Fat | 10 g |
| Saturated Fat | 5 g |
| Fiber | 2 g |
| Sugar | 16 g |
| Sodium | 90 mg |
| Calcium | 40 mg |
| Iron | 2 mg |
Instructions
-
Prepare the pan
-
Line a 9×9-inch square baking pan with parchment paper, leaving extra on the sides for easy lifting.
-
-
Melt the base mixture
-
In a saucepan over low heat (or in the microwave in short bursts), melt together chocolate chips, peanut butter, and honey/maple syrup until smooth. Stir continuously to avoid burning.
-
-
Add vanilla & salt
-
Once melted, remove from heat and stir in vanilla extract and a pinch of salt for balance.
-
-
Mix with cereal
-
Place the cereal in a large bowl. Pour the warm chocolate mixture over the cereal and stir gently until all pieces are coated evenly.
-
-
Transfer to a pan
-
Pour the mixture into the prepared pan. Use a spatula (or lightly greased hands) to press it down firmly into an even layer.
-
-
Optional toppings
-
Sprinkle with nuts, coconut, or dried fruit while still soft, pressing them lightly into the mixture.
-
-
Chill & set
-
Place the pan in the refrigerator for at least 1 hour, or until firm and set.
-
-
Cut & serve
-
Lift the block out of the pan using the parchment paper, place it on a cutting board, and slice into 12 even bars.
-
Flavor Profile of Chocolate Cereal Bars
-
Sweet & Chocolaty: Deep cocoa flavor with a satisfying sweetness.
-
Crunchy Texture: Crisp cereal provides a delightful crunch.
-
Nutty Undertones: If peanut butter or nuts are added, they enhance richness.
-
Balanced Sweetness: Honey/maple syrup adds a natural sweetness.
-
Customizable Layers: Can range from indulgent (with milk chocolate) to healthier (with dark chocolate & seeds).
Tips for the Best Chocolate Cereal Bars
-
Use dark chocolate for a less sweet, antioxidant-rich version.
-
Add chia seeds, flaxseeds, or protein powder for a nutritional boost.
-
For a nut-free option, use sunflower seed butter or tahini instead of peanut butter.
-
Always press the mixture firmly into the pan to prevent crumbling.
-
If you prefer softer bars, reduce the chill time slightly. For firmer bars, let them rest longer in the fridge.
-
Store in an airtight container in the fridge for up to 7 days, or freeze for up to 2 months.
Conclusion
The Chocolate Cereal Bars Recipe is proof that simple ingredients can create a truly delightful treat. With its rich chocolate coating and irresistible crunch, it strikes the perfect balance between indulgence and health. The no-bake method makes it beginner-friendly, while endless customization options ensure you never get bored with making it.